Content moderation is important in Drupal, allowing contents to be reviewed and checked carefully before publishing it on the site. Using the module minimizes typographical errors and test contents from being published accidentally. Apart from the functions mentioned above, more uses will be tackled as we move further.
To setup Workbench Moderation module, it first needs to be downloaded and installed. Perform the following steps to learn content moderation.
- Create roles for content creator/author and content approver on admin/people/roles/add. Content creator/author role can create and edit contents while a content approver role can either publish or send the content back to the creator for revision.
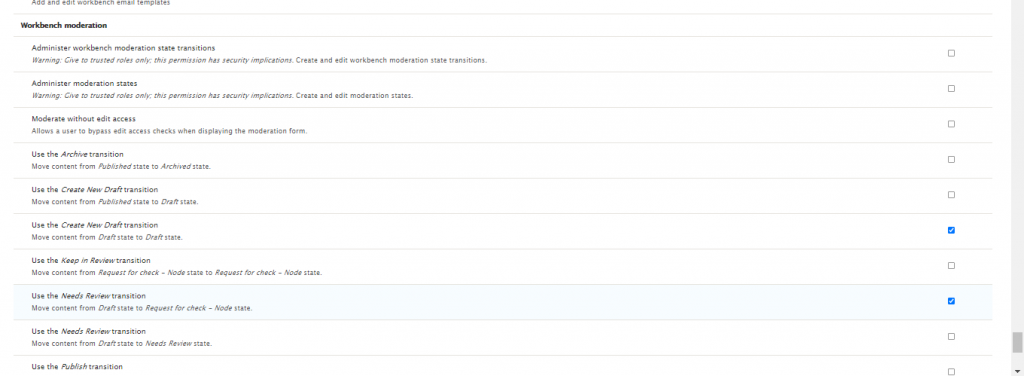
- Set the permissions for each roles by clicking the edit permissions on the dropdown button on the right side of the role. Allow the creator role to create and edit multiple content types or vocabularies by ticking the checkboxes while allow the approver role to atleast edit the content types that a creator can access to. Scroll down to the bottom page and on Workbench moderation section, tick all checkboxes that applies to content creator and content approver roles respectively. For instance, the content creator was allowed to move the content from Draft state to Request for check state. You can allow more transitions on each roles. Here's a sample setup for content creator role:
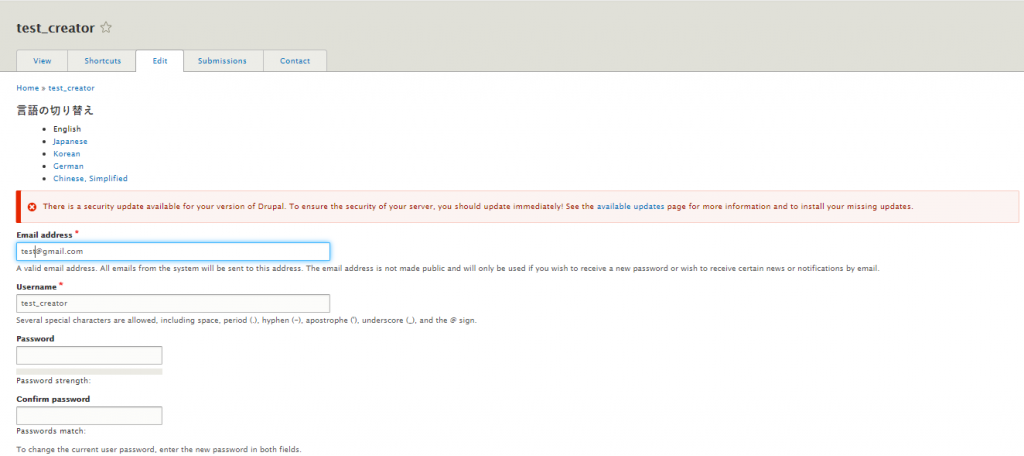
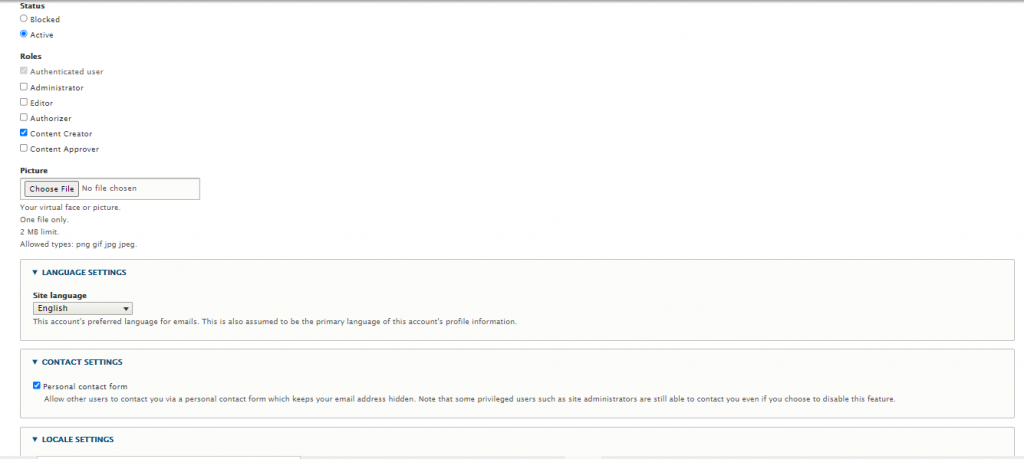
Once the roles are set, add dummy accounts using the roles that was created on admin/people/create. the image below is a configuration for the content creator role. Do the same for content approver with different email address and role.
- After creating the dummy accounts, you can then move on setting up the moderation states. The default moderation states in structure/workbench-moderation/states are Draft state, Needs Review state, and Published state, but you can add other states such as Needs Rework for contents that needs revision.
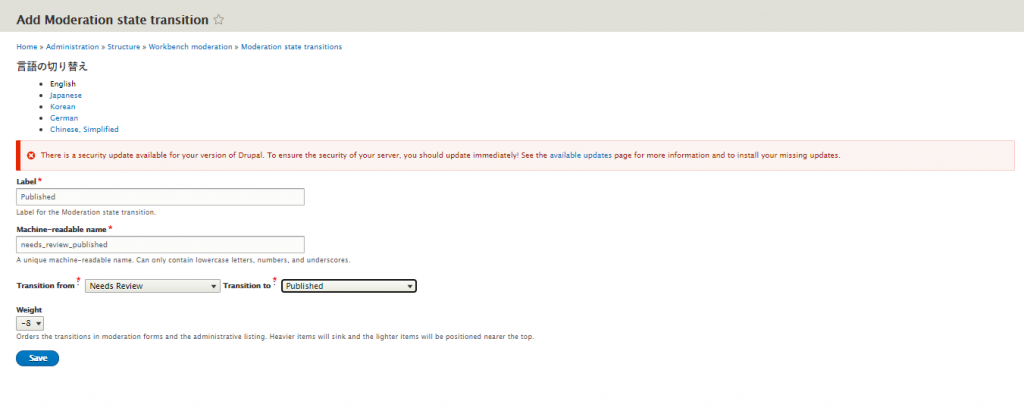
- Setup the moderation transitions on /admin/structure/workbench-moderation/transitions. This is where you can set the transition from one state to another. Here's a sample configuration to start with. In the image below, the content was assumed to be set to needs review state and if it doesn't need further revisions, it is now possible to set it to published state. You can also add transitions from draft state to needs review state, draft state to published state, Needs review state to Request for check state, to name a few.
- With the moderation transitions created, it's time to configure the content types that may require content moderation. Proceed to admin/structure/types and click the manage moderation on the dropdown button on the rightmost side of any content type. Tick the Enable moderation states checkbox and tick all checkboxes on Allowed moderation states (Unpublished) and Allowed moderation states (Published) that applies. The same process also applies to vocabularies.
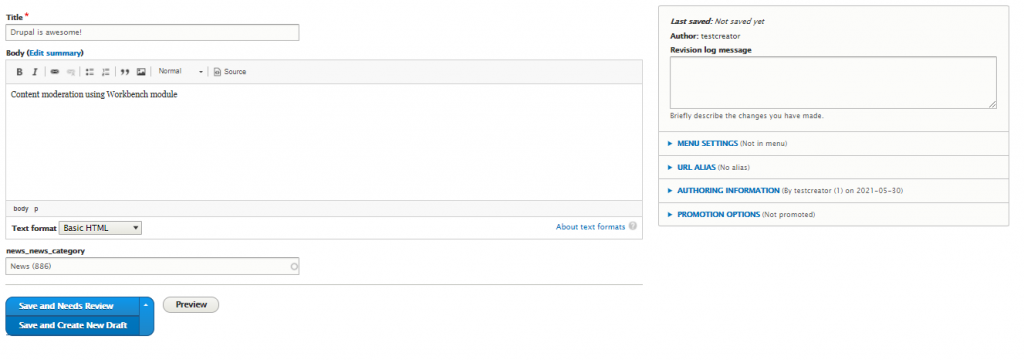
- Login using the two dummy accounts : content creator and content approver in different browser modes to check the transitions applied. You can test by creating a content as a content creator. In the example below, the content creator can save the content as draft or set it to needs review.
In the next image, the content approver can either Publish or Send the content back for draft.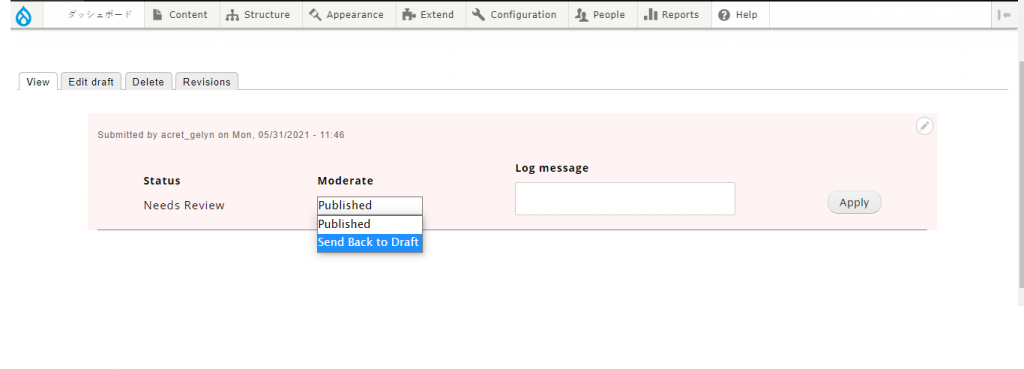
Technically speaking, the steps provided above are quite easy to follow and configure, right? Here's a tip: You can actually send an email notification to content approver in case there are contents that needs to be reviewed. Check the Workbench Email Module on https://www.drupal.org/project/workbench_email. Have fun reading !