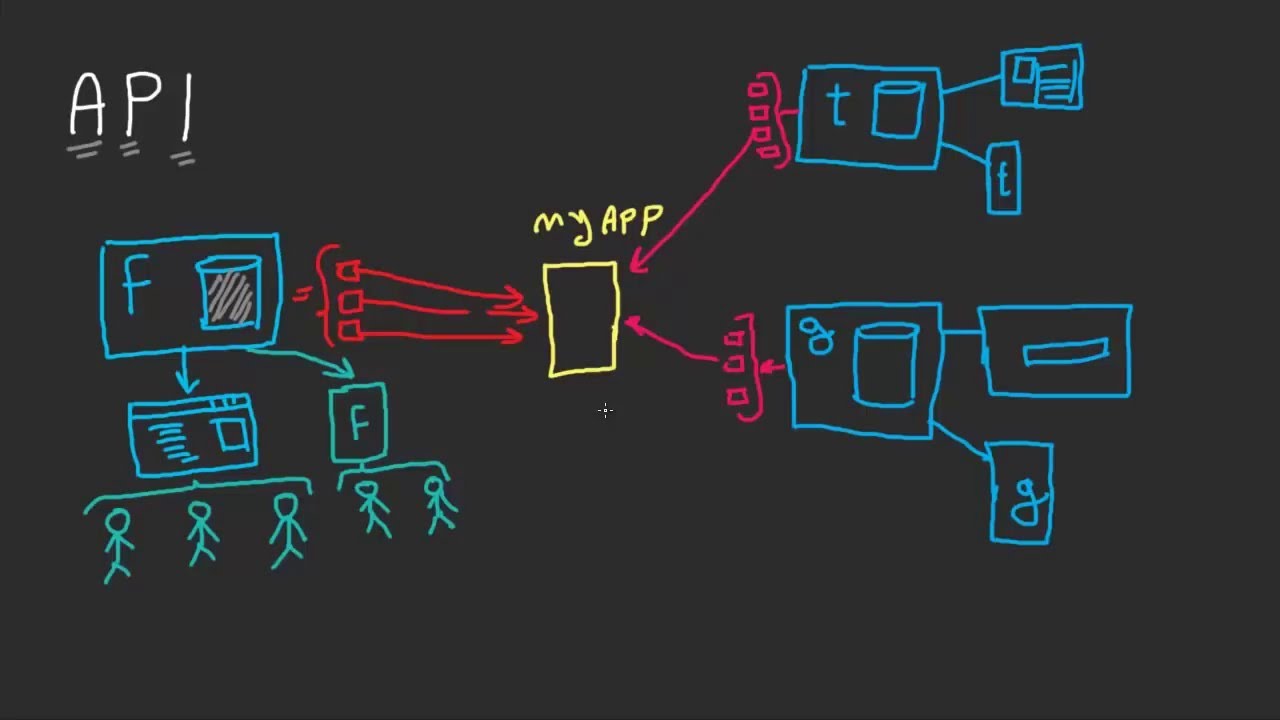
API is an acronym, and it stands for “Application Programming Interface.” An API simply states the rules for the communication to happen. The main process is retrieving data from an endpoint and displaying in a format depending on whatever you want.
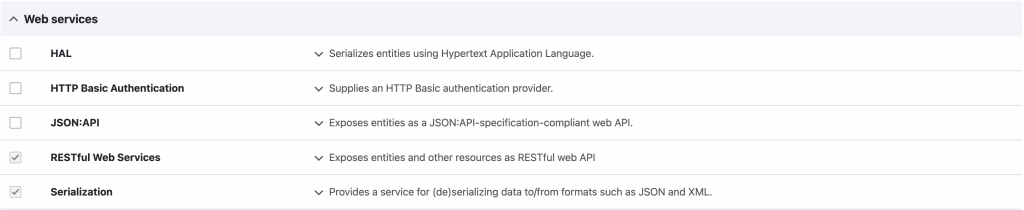
In Drupal, API’s can be created and modified through the default core module RESTful Web Services and Views. This module exposes entities and other resources as RESTful web API and with the help of Serialization module we could choose different formats depending on our preferences.
With everything introduced let’s go on building our own API.
1. In the Drupal Extend (/admin/modules) page, under the web services, we’ll enable the RESTful web API and Serialization module.
2. We’ll go to Views (/admin/structure/views), and create a new view configuration namely “My Custom API” and choose the type of contents/taxonomy you want to render.
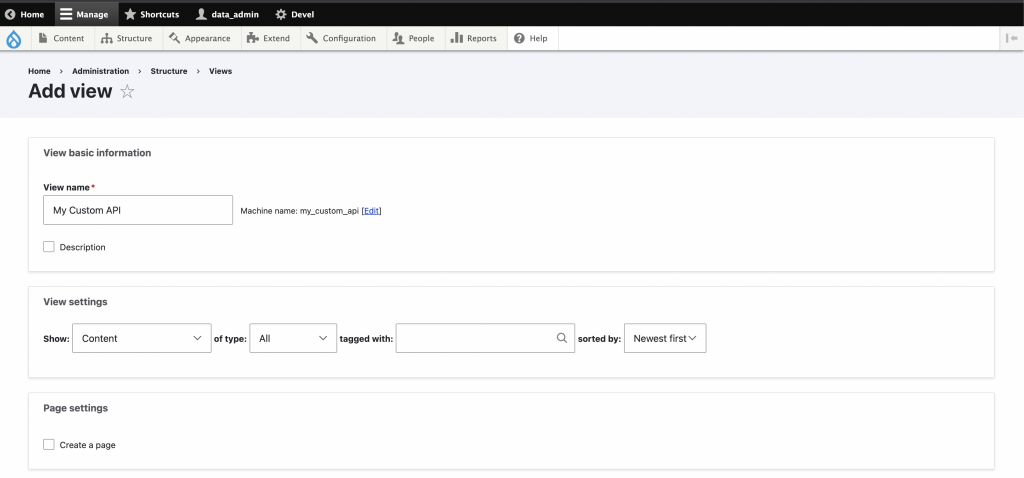
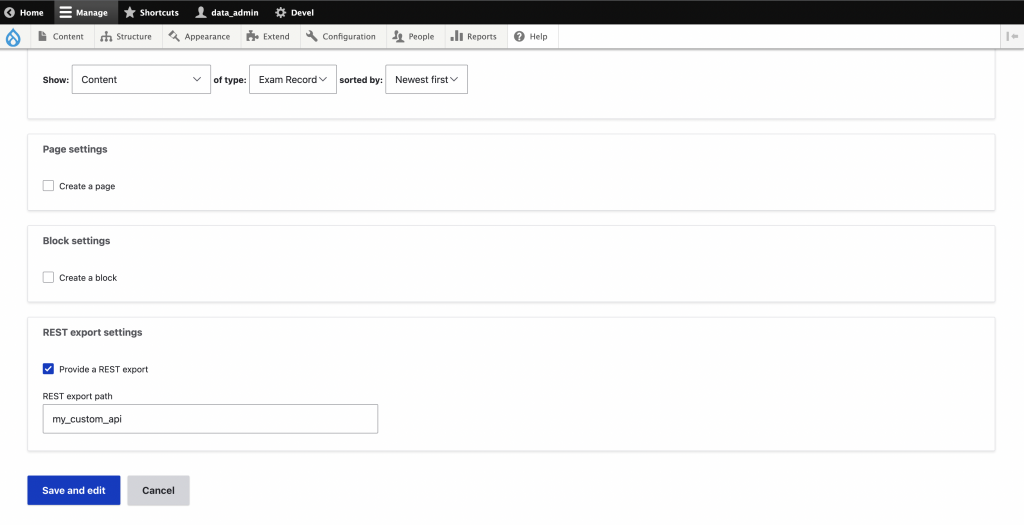
3. Still in the Add View Page, make sure to check the “Provide a REST export” checkbox under REST export settings. After the checkbox is ticked it will show another input field which is “REST export path” this field would determine the url path for our Views custom API. For this example we’ll just have it “my_custom_api” then hit “Save and Edit”.
4. After saving, we’ll edit the “Settings” beside “Serializer” under “Format” then will choose “json” for this example.
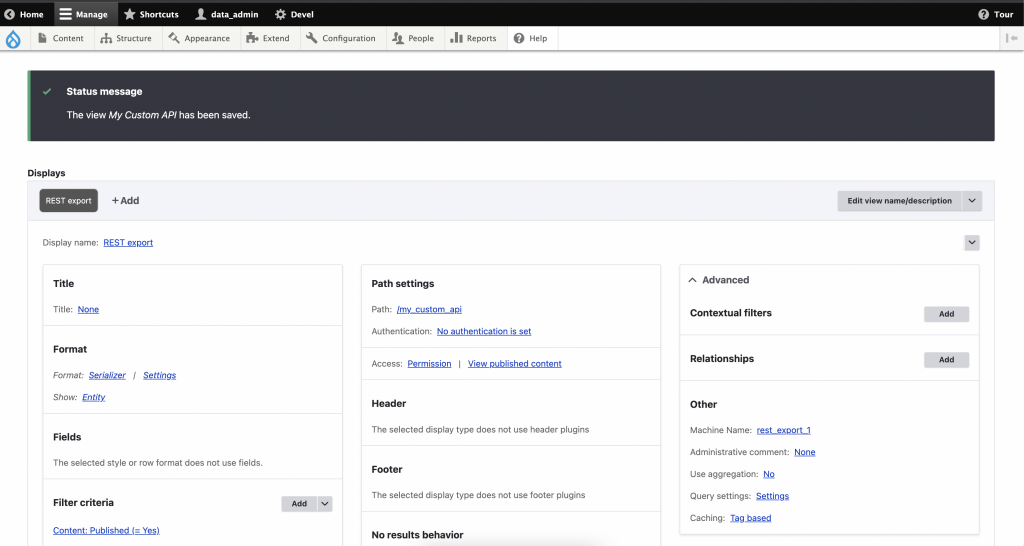
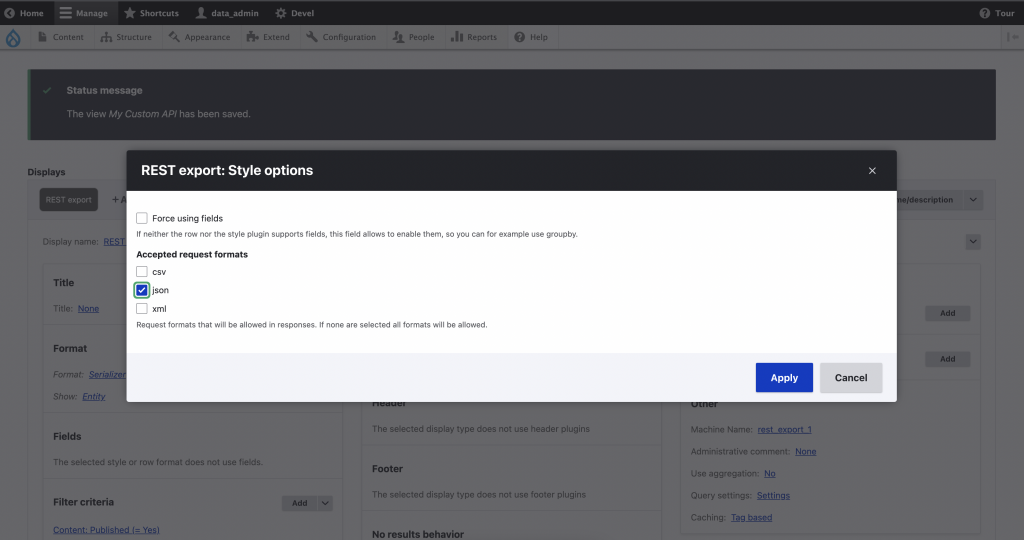
Note : We could select other formats depending on our needs.
5. Next part is what we want to display, still under the “Format” section we’ll click the “Entity” and select “Fields” for this example then click “Apply”.
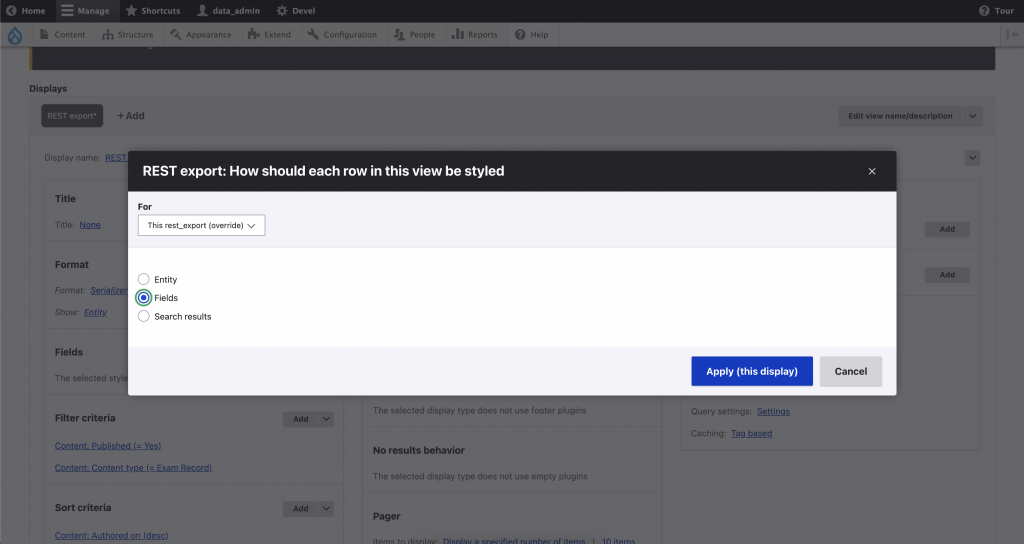
Note : We could select other displays depending on our needs.
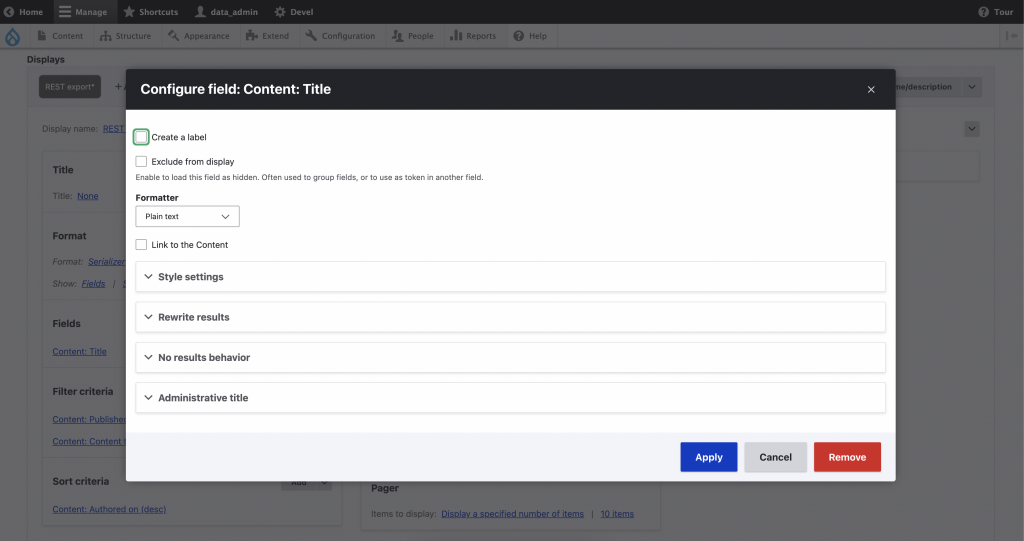
6. The default fields to be shown after selecting “Fields” is “Title”. For this example we’ll remove the link to node in the title by unchecking the “Link to the Content” checkbox then hit “Apply”.
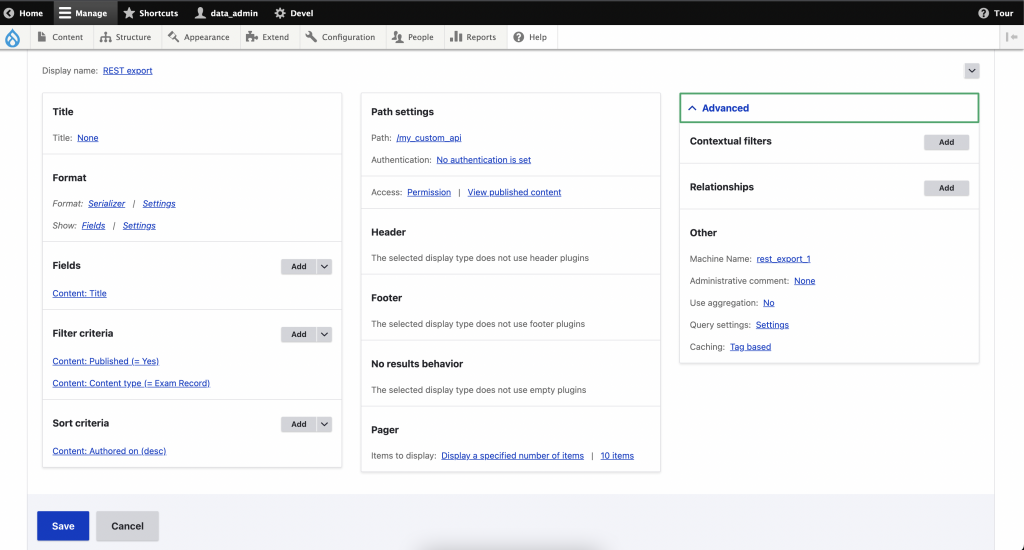
7. Hang on! We’re almost done. After everything is configured it’s up to you if you want to add more fields to be displayed. For this example we’ll just show every “Title” in the content that we selected while we were adding the View earlier. Your view configuration should look like this.
8. The last part is testing the custom API that we made using the view configuration that we made above. To test this, simply visit the path that we specified under the “REST export path” earlier which is “my_custom_api”, the url path should look like this [scheme://host]/my_custom_api.
The end result should look like this, a JSON generated value from our custom API.

Conclusion :
With RESTful Views we could create and modify API’s with specific formats easily in a flash.